CHARGE & RELEASE
Ol Faithful
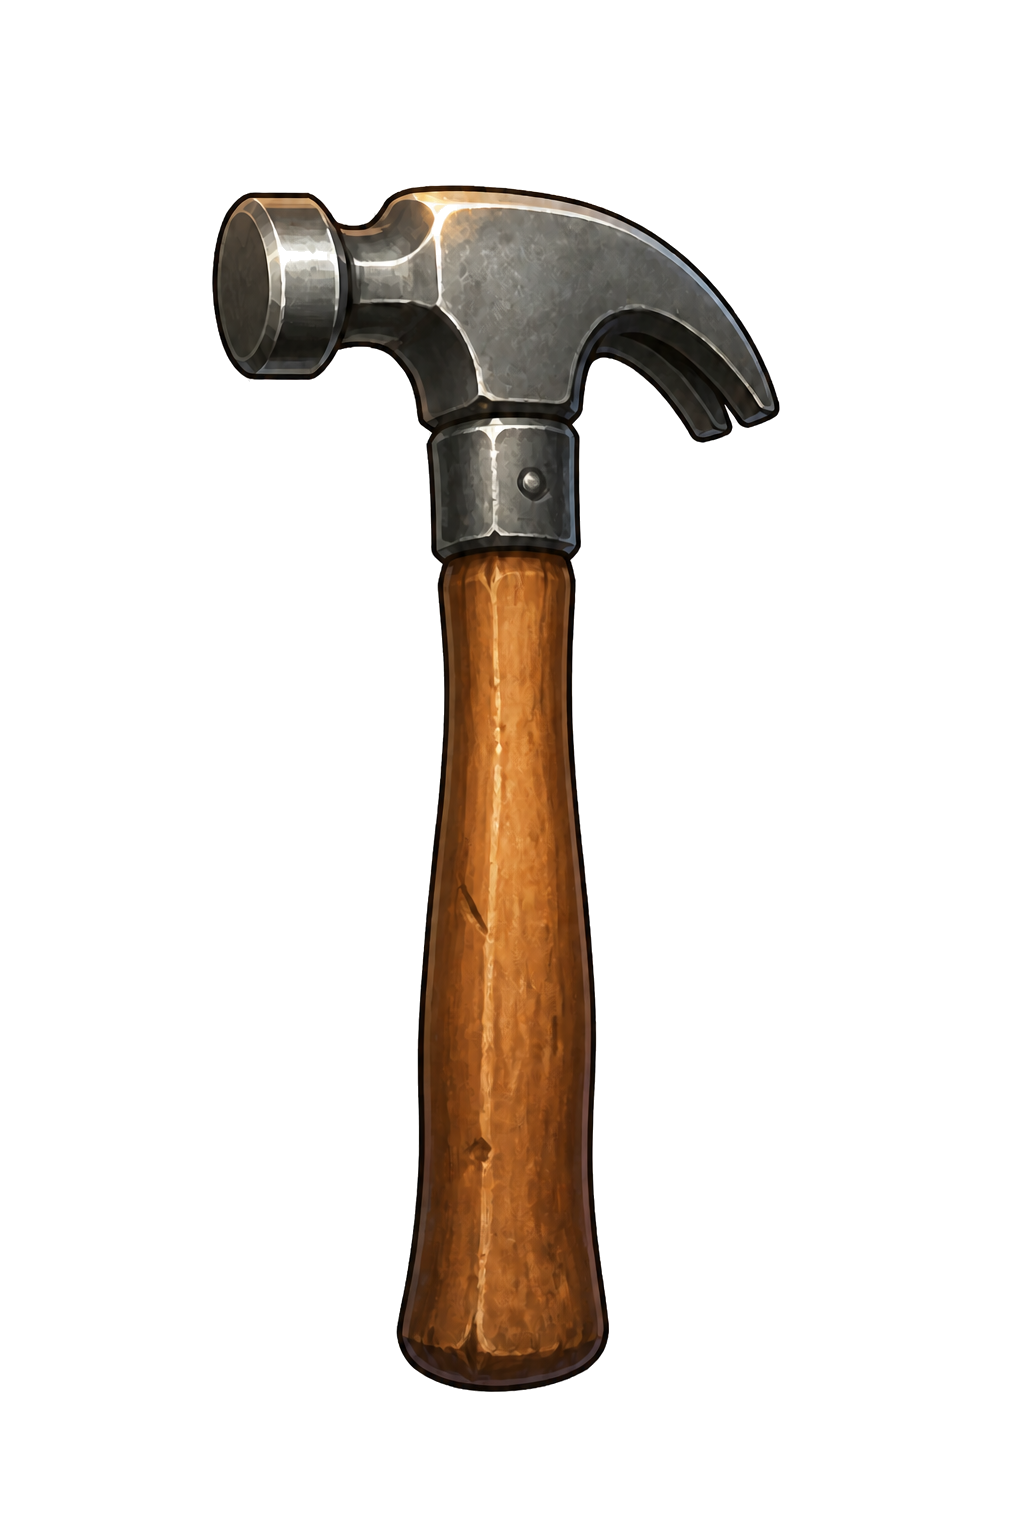
Hold to build power, then release to swing. Its base swing reaches 100% power and includes splash damage. Perfect hits extend that precision to the impact zone.
Try this: start charging while you track a target, then release when the head lines up. Groups of nearby nails are opportunities to make splash damage count.
Watch out: waiting for a huge hit on every nail can let the leftmost threat escape. A smaller timely strike can be the better survival choice.
RAPID-FIRE
Autoclicker
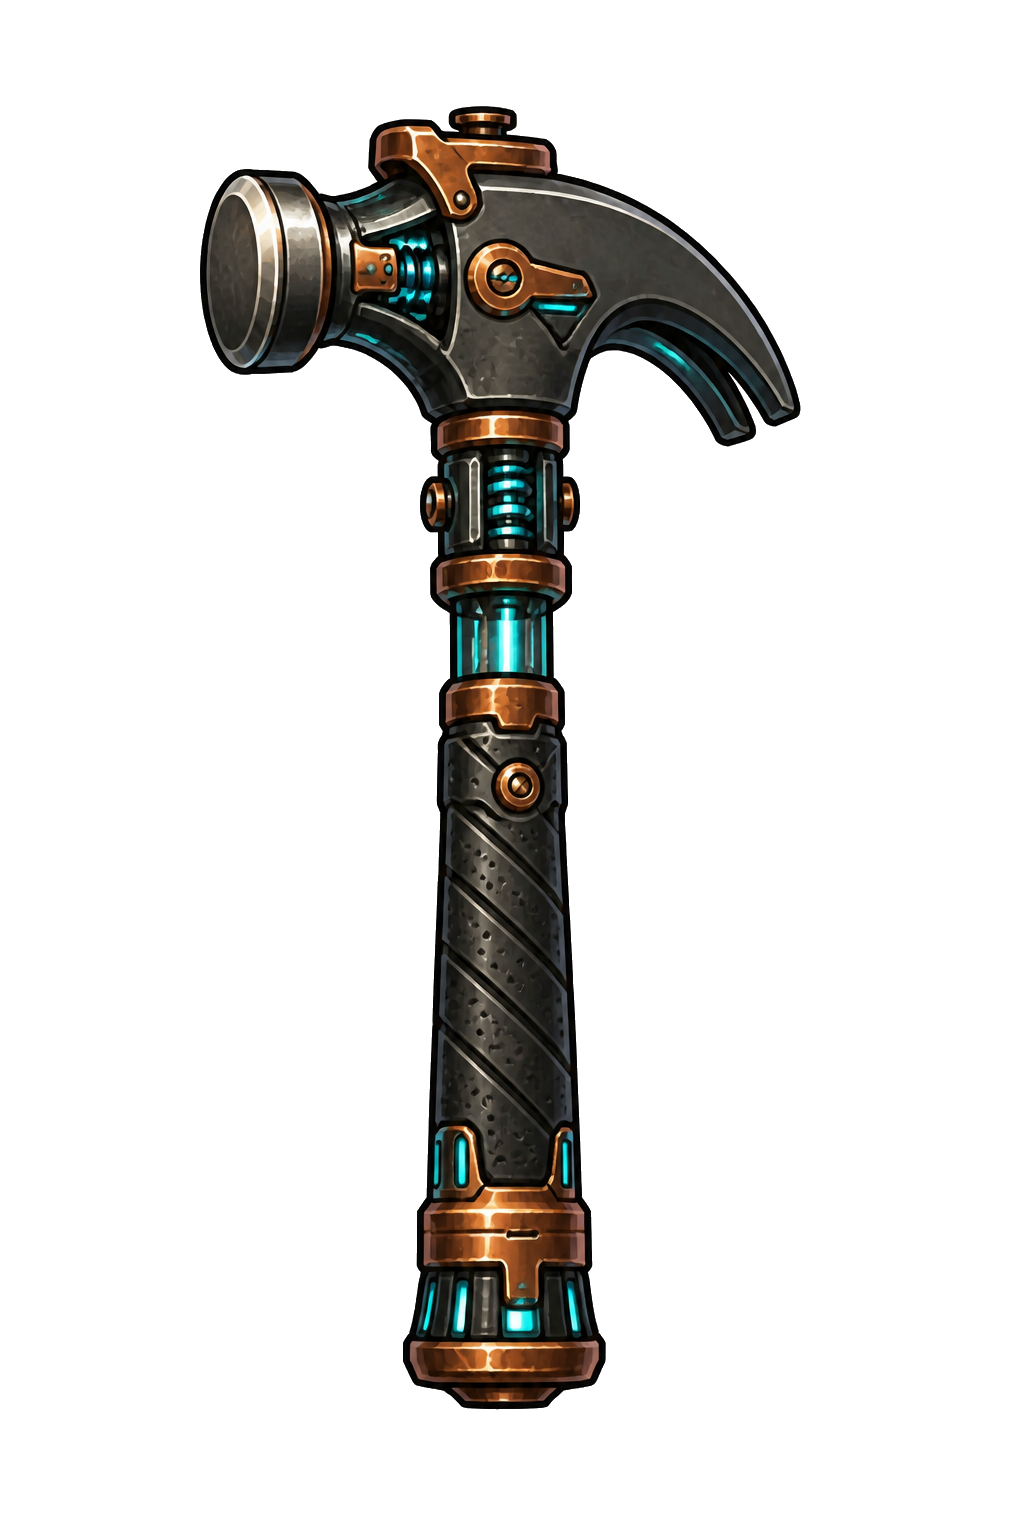
Each click fires a complete swing at 10% base power, capped at ten strikes per second. The champion name does not mean it clicks for you.
Try this: keep your aim steady on one dangerous nail and use repeated hits to finish it. Faster clicking is useful only while the hammer is aligned.
Watch out: scattered clicks can leave several damaged nails unfinished. Prioritize a completed nail over a higher click count.
HANDS-FREE
Nome
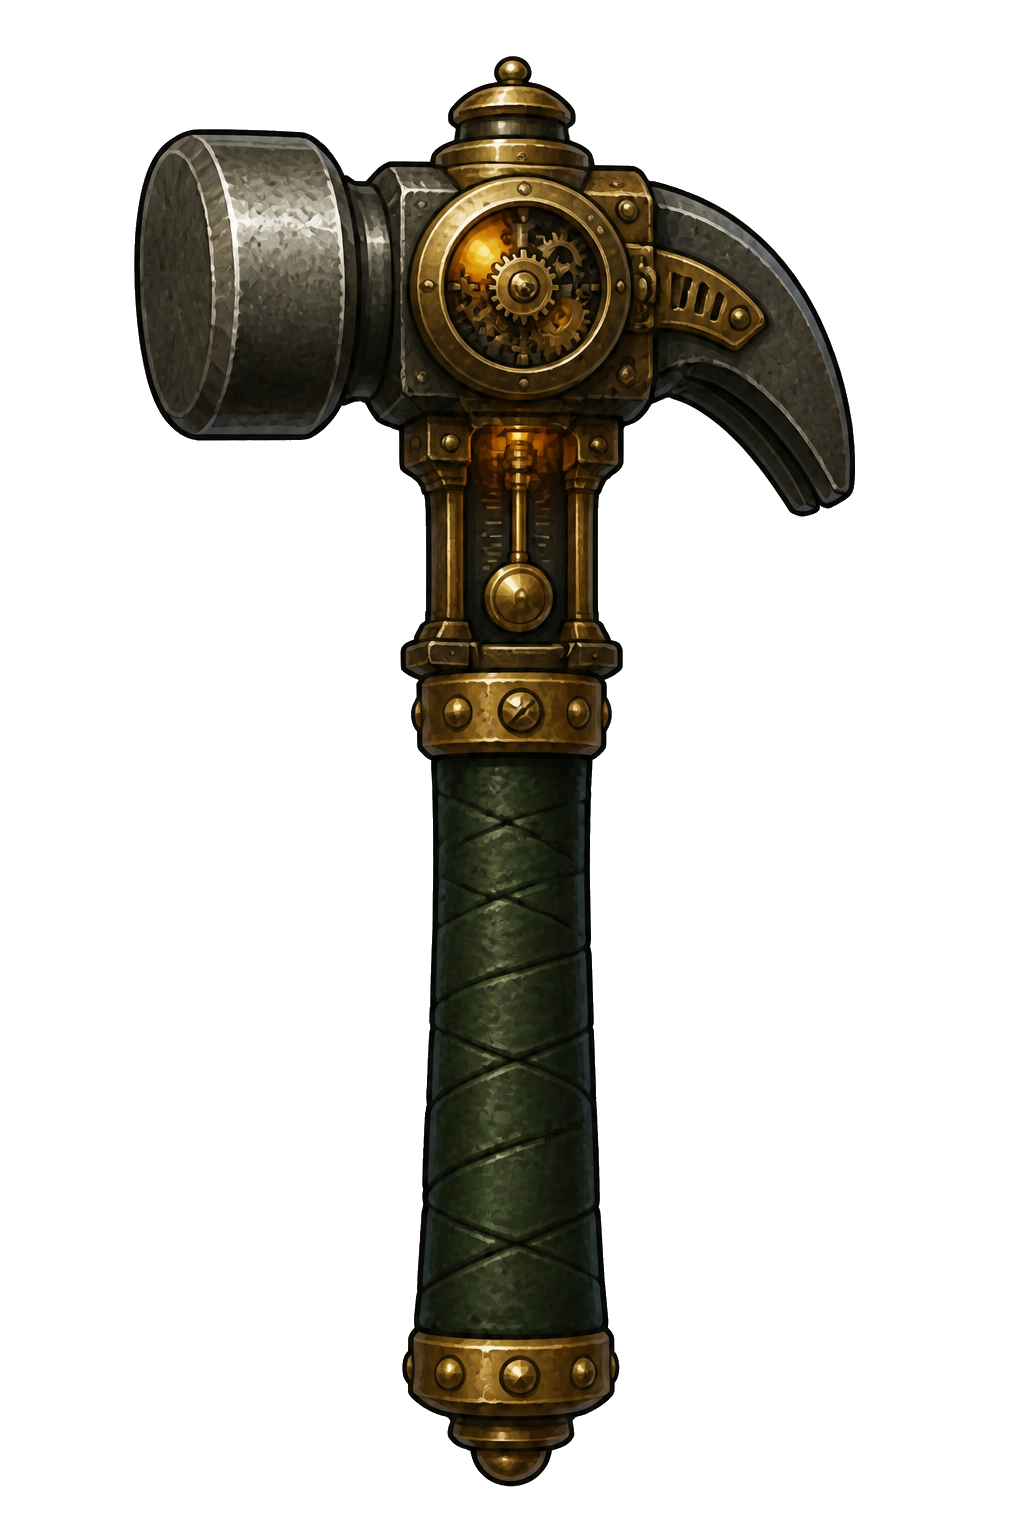
Nome swings at 45% base power once a second. You still choose where to aim; the automatic timing handles the swing.
Try this: settle your aim before the next strike and move deliberately between targets. Spend the space between swings reading the conveyor.
Watch out: constant pointer movement can put the hammer between nails when the automatic swing lands.
Four different kinds of progression
- Wave rewards
- Choose an offered improvement after completing a wave. Read the effect and any branch requirements; a coherent build is easier to use than unrelated bonuses.
- Hammer equipment
- Spend your run currency in the loadout shop. Compare the offered part with what you already have, and keep a reserve for escaped-nail penalties. Stock changes between waves and runs.
- Turrets
- Turret options unlock after Wave 2. Physical, effects, and function branches offer different support. Purchase, placement, specialization, and upgrades are distinct decisions; an unplaced turret cannot cover the conveyor.
- Cosmetic skins
- Material and novelty skins are appearance choices. Unlocks persist, but equipping a skin does not turn Nome into Autoclicker or change damage. The #1 leaderboard look depends on holding that rank.
Active items: choose the right emergency tool
| Tool | What it does | When to consider it |
|---|---|---|
| Freeze Charge | Freezes visible nails and pauses nail production for four seconds. | A crowded exit needs a short window to clear. |
| Fear Bomb | Nearby nails flee toward the far-right edge, then resume. | Several threats need distance from the exit. |
| Rampart | Sinks nails underneath it and blocks nails on its right for ten seconds. | You can place a barrier ahead of a cluster. |
| Carpet Hammer | A hammer plane crosses the field with explosive damage. | The problem is spread across the board. |
Items occupy active slots and have limited charges. Check the slot before relying on it; a strong tool that you forget to activate cannot rescue a run.
A simple way to test a build
- Pick one champion and play a run to learn its timing.
- Note what ended the run: missed aim, slow finishing, crowding, or overspending.
- In your next run, choose a reward or part that addresses that specific problem.
- Compare waves reached and how often you replay—not just one lucky high score.
These are starting strategies, not a promise of a guaranteed winning build. Prices, offers, and effects shown in the game are the source of truth as development continues.